

The digital shift in personal finance is no longer a trend—it’s the norm. For many first-time users, understanding how to use a UPI net banking app can seem overwhelming. But in reality, it’s one of the simplest and most efficient ways to manage your money, make payments, and stay in control of your finances—all from your smartphone.
This guide walks you through everything you need to know to get started with UPI mobile banking using a net banking-enabled app.
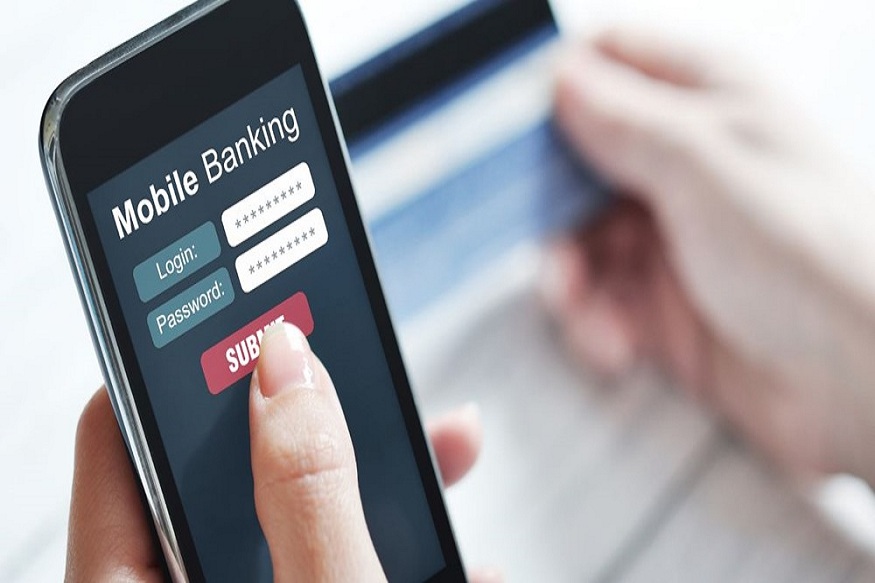
What is a UPI Net Banking App?
A UPI net banking app is a mobile application that combines the best of two systems:
- UPI (Unified Payments Interface) – used for fast, real-time money transfers.
- Traditional net banking – used for more detailed financial management such as viewing statements, scheduling payments, and accessing account services.
With this combo, users can experience the power of instant UPI transfers and the depth of net banking features—making UPI mobile banking more versatile than ever.
How It Differs from Traditional Net Banking
While net banking via browsers or desktop sites is functional, it often lacks the speed and mobility of app-based platforms. A UPI net banking app offers:
- Instant UPI transactions via mobile
- Real-time balance tracking
- Bill payment through UPI or direct bank channels
- Seamless interface for all services, anytime, anywhere
No need to log in through complicated portals—just tap, transact, and go.
How to Download and Set Up a UPI Net Banking App
Getting started is quick and straightforward. Here’s how to set up your UPI net banking app:
Step 1: Install the App
Download a trusted UPI mobile banking app from the Play Store or App Store.
Step 2: Register Your Mobile Number
Ensure your mobile number is the same one linked with your bank account. The app will auto-detect your bank based on SMS verification.
Step 3: Link Your Bank Account
Choose your bank from the list. The app fetches your account details instantly.
Step 4: Create Your UPI ID
This acts as your virtual address for sending and receiving money.
Step 5: Set UPI PIN
Using your debit card credentials, generate a secure 4- or 6-digit PIN for authorizing transactions.
Once done, your UPI app bank setup is complete!
Linking Bank Accounts and Creating UPI ID
Most banking UPI mobile apps allow users to link multiple accounts under one UPI profile. You can also create personalized UPI IDs (e.g., yourname@bank), which are easier to remember and use for transactions.
Benefits of Using a UPI Net Banking App
A well-designed UPI net banking app gives you the best of both worlds:
- Speed: Quick UPI transfers to any bank or mobile number
- Access: View passbooks, statements, and upcoming payments
- Flexibility: Pay via UPI or schedule payments from your bank account
- Security: Two-factor authentication and encrypted PIN protection
It’s a true digital banking companion—perfect for both routine and advanced financial tasks.
Common Issues and Troubleshooting Tips
Here are a few things to watch out for when using your UPI mobile banking platform:
- Transaction failure? Re-check UPI ID and ensure internet connection is strong.
- UPI PIN not working? Try resetting via the app using your debit card.
- App not opening? Clear app cache or update to the latest version.
Most UPI app bank platforms also offer in-app support or chatbot help to resolve these problems quickly.
Conclusion: Embracing the UPI Digital Revolution
If you’re still using traditional methods for your banking needs, now’s the time to evolve. A UPI net banking app simplifies your finances while offering the speed and security you deserve.
Whether you want to make instant payments, track your expenses, or manage multiple accounts, modern UPI mobile banking solutions bring everything into one smart interface—right in your pocket.